Using TI Code Composer Studio to program the MSP-EXP4432E401Y on Linux
Although I have a Windows partition installed on my laptop, using it means rebooting the computer and, inevitably, running into some rage-inducing reminder of why I do not use Windows.
For my microcontroller class this semester, we were given instructions on creating and flashing programs to the Texas Instruments MSP432E4 micro using the Windows-only Keil IDE. Since I didn’t want to be left behind in the class demonstrations, I didn’t get too far in investigating Linux alternatives besides the vague impression that I might need to write my own makefiles in order to use example code with the GNU ARM toolchain. Wrong!!! As it turns out, Texas Instruments provides a free IDE for its boards that is available for Mac, Windows and Linux… and now that the class is over, I’ve finally figured out I could have been using it all along.
So, here’s a walkthrough of setting up to program the MSP432E4 on Linux. (I’m on Mint, though I doubt there’s much here that’s terribly distro-dependent.)
First, install the Software Development Kit. This isn’t the IDE, it’s a collection of files that the IDE (or you, if you’re a makefile wizard) will use. As of May 2024, the link to get the SDK for the MSP432E4 is here.
When the SDK installer finishes downloading, you will probably need to allow it permission to execute. Right click on it and choose properties > permissions > allow executing file as program, then run it. The setup wizard will ask where you want to install it; probably just keep the default location, which is a folder called “ti” in the home folder of your local user.
Next, download CCS from here. I chose the offline install for Linux. It comes in a compressed folder, so extract it. Inside that folder is a file which begs you to read it first, which will tell you to run the executable.
That installation wizard will check the dependencies on your system. I had a missing dependency, libpython2.7.so.1.0, which was fixed by running
sudo apt-get install libpython2.7
sudo apt-get install libatlas3-base
if your distro doesn’t use the Debian apt utility, or you have different stuff missing, you’ll need to look up how to correct it before continuing.
After all the dependencies are OK, it will suggest installing itself inside of the ti folder that the SDK already made, so do that. Choose “Custom installtion” and select “SimpleLink MSP432 low power + performance MCU”. Keep the default debug probe selected, I guess, idk what the others are.
When the installer is finished, it tells you to run the driver install script before anything else, so go to the file path it provides and run sudo ./install_drivers.sh. Mine worked fine without rebooting but it will warn you some distros need you to reboot for it to take effect.
You can now launch the IDE from the icon in the ti/ccs12.x.x folder! The first time you launch it, it will ask you what you want to use as a workspace directory. I already have a folder I’m planning on keeping all my microcontroller stuff in, so I chose that one and selected “Use as default and do not ask again.”
Time to try it out with some example code from 2DX3! I downloaded a fresh copy of the provided Studio 4A example code from Avenue. Because it was created using the Keil IDE, it has some extra files and directories generated by Keil that aren’t needed.

From the Getting Started window of CCS, choose New Project. In the wizard that opens, make sure you set the correct board, and since we already have a project with a main function, choose to create an empty project with no main.c file.

The new project should now be visible in the Project Explorer window at the left side of the screen. Right-click on the project name and choose “add files”. Add all of the .c and .h files to the project, and then confirm that you would like to copy them instead of just linking to them.

Press the hammer icon to build the project, and the arrow going into a folder to flash it to the board.

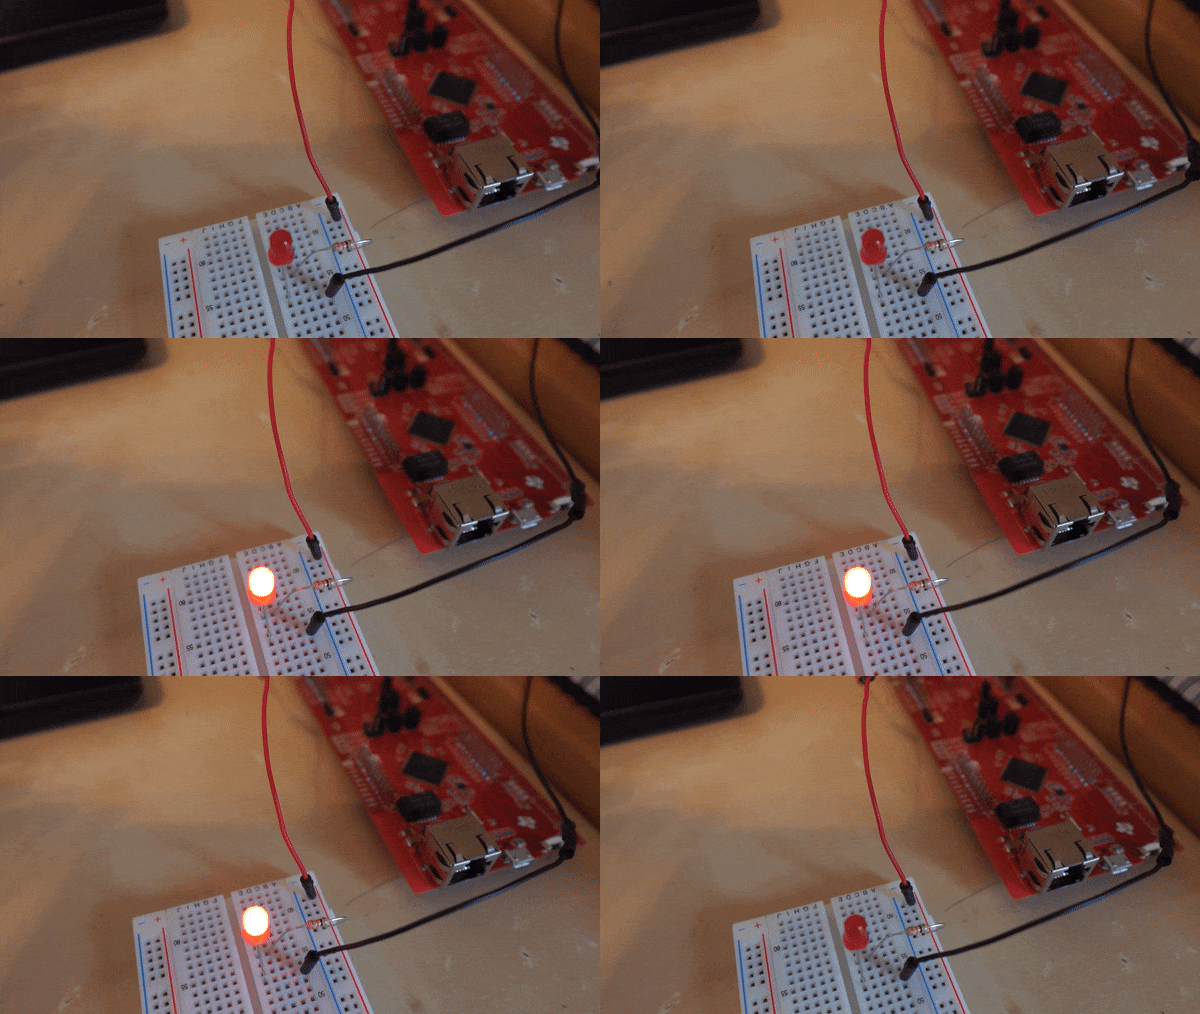
That’s it! Since this code is flashing an external LED from PN2, I attached the circuit to test it:
